Hello everybody, it is me, Dave, welcome to my recipe page. Today, I will show you a way to prepare a special dish, teddy bear cookies. One of my favorites food recipes. For mine, I am going to make it a little bit tasty. This is gonna smell and look delicious.
See more ideas about Bear cookies, Teddy bear cookies, Cookie decorating. Polar Teddy Bear Cookies: You've Got All Day for a Dozen Cookies, So Why Not? How to make cookies: Teddy bear cookies Looking for a great activity to do with the kids?
Teddy Bear Cookies is one of the most well liked of recent trending foods on earth. It is appreciated by millions daily. It is simple, it’s quick, it tastes delicious. They’re nice and they look fantastic. Teddy Bear Cookies is something that I have loved my whole life.
To begin with this recipe, we have to prepare a few ingredients. You can cook teddy bear cookies using 7 ingredients and 17 steps. Here is how you can achieve it.
The ingredients needed to make Teddy Bear Cookies:
- Get 150 grams ✭Cake flour
- Take 70 grams ✭Butter or margarine
- Prepare 50 grams ✭Sugar
- Make ready 1 dash ✭Milk
- Get 1 tsp ○Bread (strong) flour
- Get 1 tsp ○Cocoa powder
- Get 1 Pink icing or chocolate decorating pen
While the bear cookies are still warm, place an M&M on the snout to make a. Chocolate Teddy Bear Cookies. this link is to an external site that may or may not meet accessibility guidelines. A wide variety of teddy bear cookies options are available to you, such as flavor. Admit it - these are just about the cutest little cookies you've ever come across, right?
Instructions to make Teddy Bear Cookies:
- Make the dough. Combine all the ✭ ingredients and mix well. Gradually add and mix milk into the dough, small amount at a time, while checking the softness of the dough.
- Divide the dough into half. Add and mix the cocoa powder to the half of the dough. Make the dough into balls. Wrap the dough with plastic wrap and let it rest in the refrigerator. You can of course use your favorite cookie dough instead!
- Sandwich the one of the dough in two sheets of plastic wrap and roll it out to 5 mm thick. Cut into bear shapes using a cookie cutter. Leave the other half of the dough in the refrigerator.
- Align the shaped dough onto a cookie sheet. If the dough gets too soft to handle, place it back in the refrigerator to harden. Continue making the bear shapes once the dough gets hard enough to handle.
- Roll out the left over dough into a thinner layer. Making a nose either by using a cookie cutter or by making a small ball and smash it down. Place it onto the bear’s face.
- Place plastic wrap onto the nose, press it down with your finger (gently!!) so that it will stick to the dough.
- Make the faces. Before baking, combine the equal amount of the bread flour and the cocoa power and gradually add and mix some boiling water, a few drops at a time. Use a toothpick to draw a face.
- Use the flatter end of the toothpick to draw eyes and a nose.
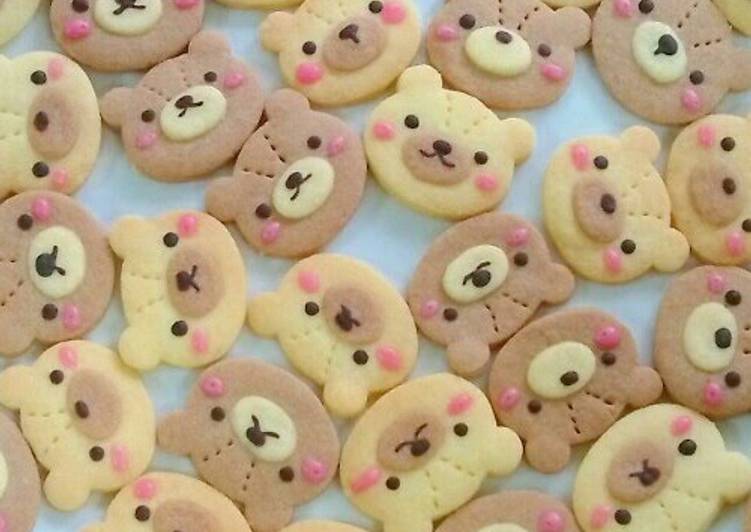
- Use the pointing end of the toothpick to draw fine lines. Draw different kinds of expressions on the faces.
- Add stitches with a toothpick.
- It looks cute if you give his cheek the little dotted lines!
- Bake in the oven preheated to 170°C for about 15 minutes. Adjust the cooking time according to your oven.
- Make the cheeks. Use some pink icing, pink chocolate decoration pen, or a small amount of white chocolate+red food coloring to add cheeks.
- For the icing, add some water, a few drops at a time, into the powdered sugar and add a very small amount of food coloring (red). Use a toothpick to put the icing onto the face.
- Finished!
- Since you will make the faces before you bake them, they are easier to handle, easier to eat and are well suited for gift wrapping. You can draw the faces with chocolate after you bake them if you would like.
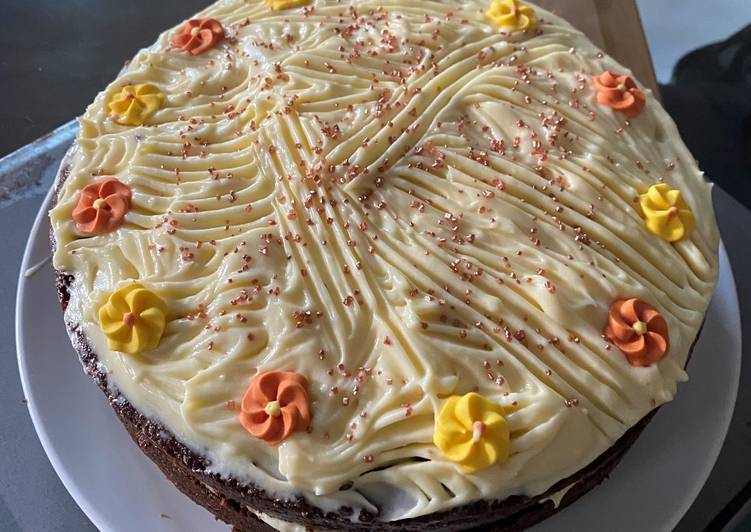
- It looks really cute if you attach these cookies onto the side of a cake.
We have to hand it to the folks who came up with these - that amazing added touch of the teddy bear holding. Her cookies look like cute little teddy bears clutching tasty nuts close to their hearts. The bear cookie form is probably the only special tool you'll need. Maa's original recipe is written in Japanese. Shape each teddy bear using either vanilla or chocolate dough or a combination for two-toned teddy bears.
So that is going to wrap this up with this exceptional food teddy bear cookies recipe. Thanks so much for your time. I’m confident that you will make this at home. There is gonna be more interesting food in home recipes coming up. Don’t forget to save this page in your browser, and share it to your loved ones, colleague and friends. Thank you for reading. Go on get cooking!